
To create a dashboard template at least a signal template has to be included in its widgets, the creation of a device template is therefore mandatory.
- 1. Creating a device template
- 2. MQTT client configuration
- 3. Transmitting to a template/Device generation
- 4. Transmitting signals values
- 5. Creating a dashboard as template model
- 6. Creating a dashboard template
- 7. Link a dashboard template to a device template
- 8. Other devices generation
- 9. Manually generating dashboards from the template
1. Creating a device template
To create a device template:
- Choose the type of device Template Device;
- Fill other fields in Info section as you please;
- Select type of device MQTT Template Device section;
- Add signals to the template, in the example the following signals were added template_signal_1, template_signal_2 and template_signal_3;
- Set a project, we use Tutorial for the example;
- Set a data publication topic and a info reception topic, in the example we have Data and Info;
- After all the fields have been filled, the situation should reflect the one in the image:

2. MQTT client configuration
To transmit data to the template we use a MQTT client (MQTT.fx). Add a new connection profile DATABOOM and set it up as in the picture:
- Select the Profile Type MQTT Broker;
- Set as Broker Address mqtt.databoom.com;
- Set as Broker Port 1883;
- Use the ClientId visualized in the created template as Client ID. The <user generated unique value> can be freely set by the user, it will be used to form the generated device token. In the example we use the value device_from_template, full Client ID is therefore V9Gg-device_from_template (V9Gg represents the user's namespace);
- In the User Credentials section insert yout own username and an OAuth token with Create and Publish permissions, generated in the Credentials section of the Settings side menu in Databoom.

3. Transmitting to a template/Device generation
Once the template has been created and the MQTT client configured, it is possible to transmit data to the template, therefore generating an actual device. The device can be subsequently used to fill the dashboard template with its signals.
- In the Publish section insert the topic shown in the device template, substituting the <user generated unique value>, Tutorial/device_from_template/Data;
- From the device template page in Databoom access its signals details page template_signal_1, template_signal_2 e template_signal_3 and annotate their tokens;
- You can now fill the payload to forward to publish on the topic:
{
    "type": "data",
    "message":  [
      {
        "template": "0jlr635hvf",
        "date": "2018-06-19T09:10:00.000Z",
        "signals": [
          {
            "name": "0zvugh9ssb",
            "value": 1
          },
          {
            "name": "0xq3x1r9ld",
            "value": 2
          },
          {
            "name": "0wyc5yxscn",
            "value": 3
          }
        ]
      }
    ]
}
Assure to set the template token in the template field, 0jlr635hvf in the example, and signals tokens in the corresponding name fields (in the example 0zvugh9ssb, 0xq3x1r9ld and 0wyc5yxscn).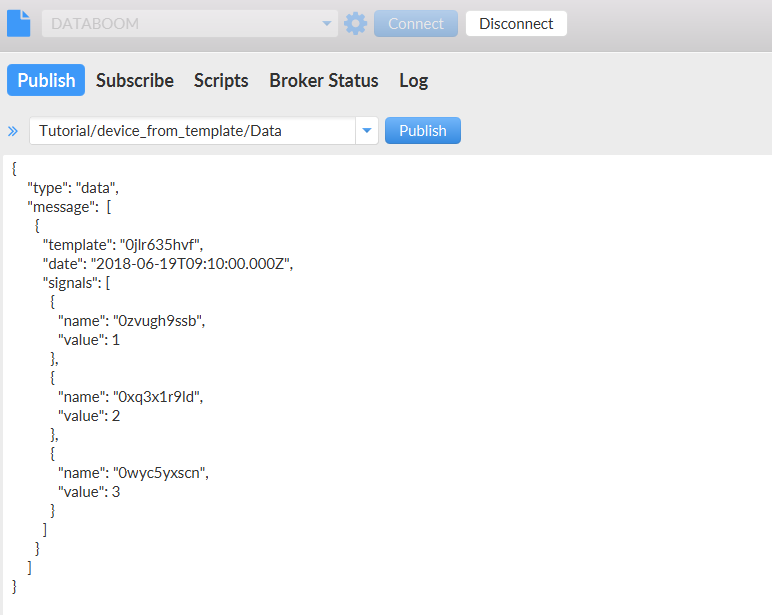
-
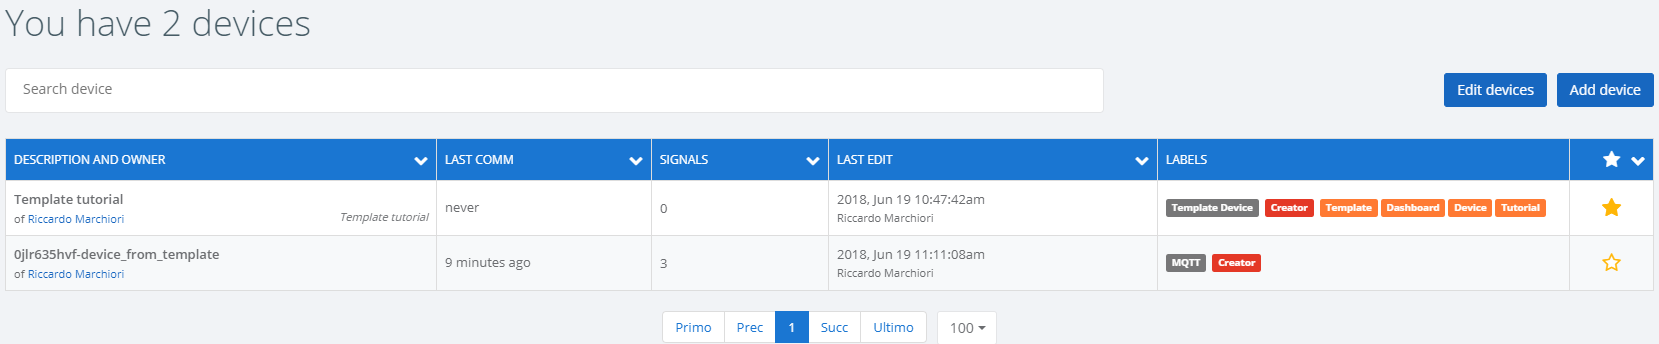
After the publication, the device is visualized in Databoom. The template token followed by the inserted <user generated unique value> is used as description, in the example we have 0jlr635hvf-device_from_template.
4. Transmitting signals values
Once the device has been generated, it is possible to transmit its signals values in two ways:
- keep publishing the previous step payload, maintaining therefore the template reference in the message;
- directly transmit to the generated device, in this case you need to edit the MQTT client configuration, by updating the Client ID to the value V9Gg-0jlr635hvf-device_from_template, and the data publication topic to Tutorial/0jlr635hvf-device_from_template/Data. The payload will be
{
    "type": "data",
    "message":
      {
        "device": "0jlr635hvf-device_from_template",
        "date": "2018-06-19T09:11:00.000Z",
        "signals": [
          {
            "name": "0zvugh9ssb",
            "value": 1
          },
          {
            "name": "0xq3x1r9ld",
            "value": 2
          },
          {
            "name": "0wyc5yxscn",
            "value": 3
          }
        ]
      }
}
5. Creating a dashboard as template model
To create a dashboard template at least a signal of a device generated by a template has to be included in its widget, so they can be subsequently substituted with the signals of other devices generated by the same template.
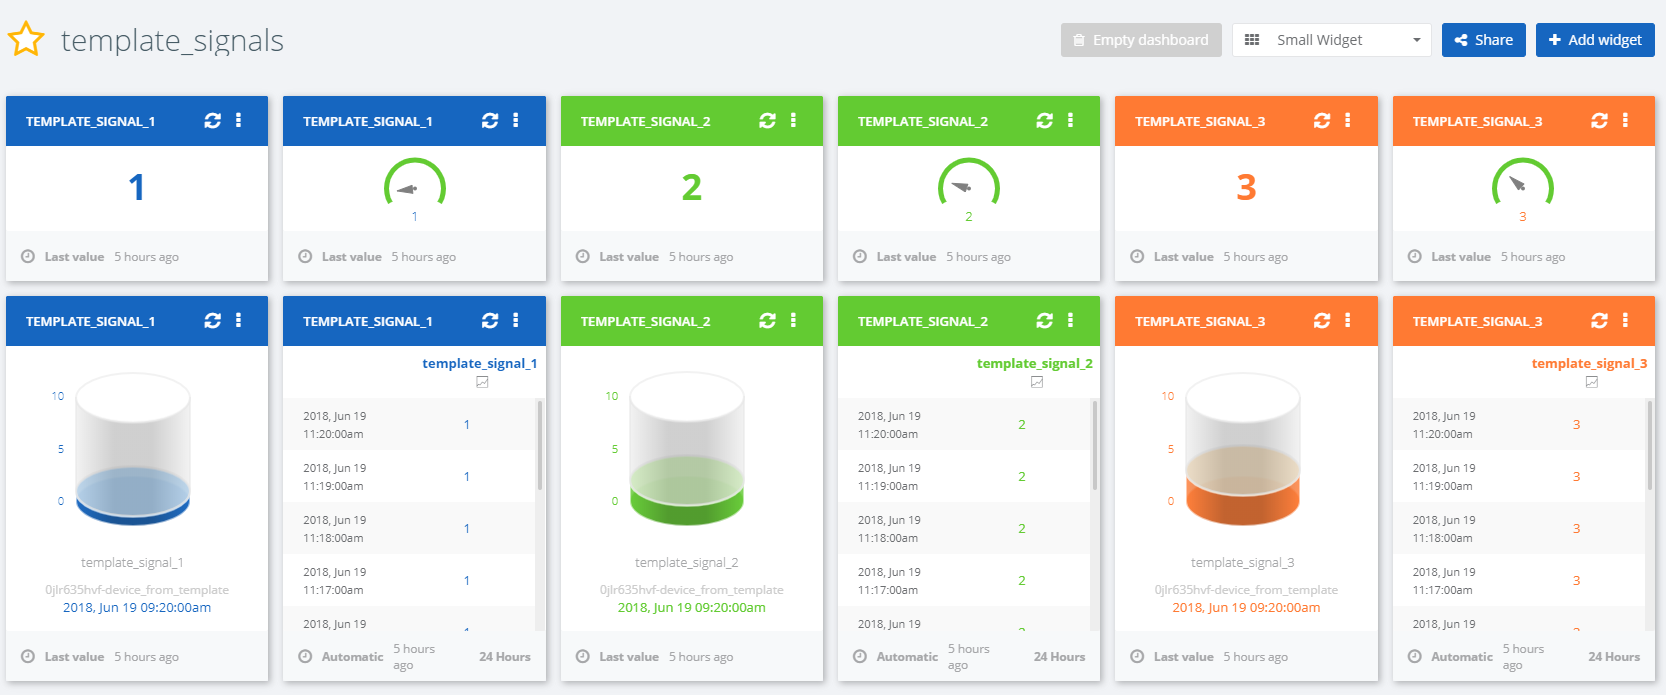
The example dashboard template_signals is filled with widgets that rapresent the signals template_signal_1, template_signal_2 e template_signal_3 of the device 0jlr635hvf-device_from_template generated by template.
6. Creating a dashboard template
To generate a template click the + button in the row corresponding to the dashboard created in the previous step in the Dashboard Manager page. By confirming the modal, the template is listed in the dedicated section.

7. Link a dashboard template to a device template
Dashboard template can be linked to a device template. You just need to enter device template edit page and select the dashboard template in the Dashboard template field.
In this way, when a new device is generated from template, the dashboard is automatically generated without user intervention.
8. Other devices generation
Let's generate other two devices, so more signals are available in signals selection when manually filling the template in the next step.
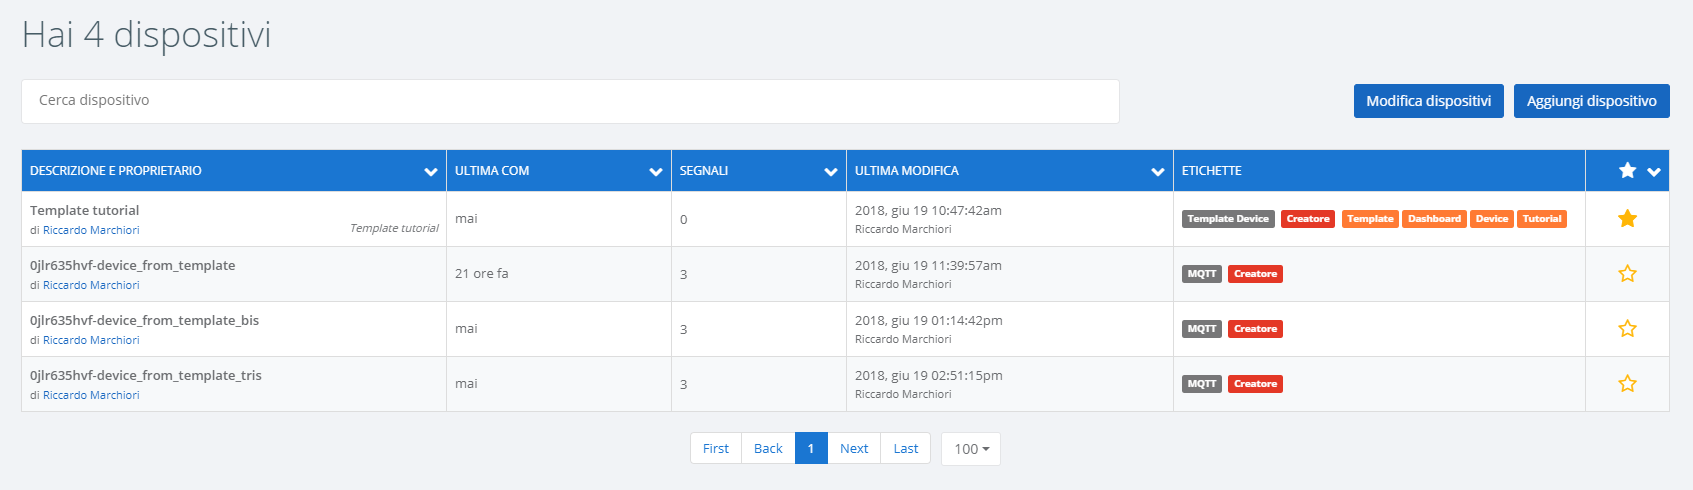
Repeat the steps 2 and 3 to create the devices 0jlr635hvf-device_from_template_bis and 0jlr635hvf-device_from_template_tris, paying attention to:
- using respectively V9Gg-device_from_template_bis and V9Gg-device_from_template_tris in the MQTT client configuration;
- using new devices token in the data publication topics, respectively Tutorial/device_from_template_bis/Data and Tutorial/device_from_template_tris/Data.
If the dashboard template is set in Dashboard template field in device template, the dashboard is automatically generated without user intervantion. Is otherwise possible to manually generate dashbooards from the template, as shown in the next step.
9. Manually generating dashboards from the template
To create a dashboard from a template, click the + button in the corresponding row. A modal containing a table will open:
- the first column contains widgets description with their dashboard reference (to distinguish widgets in case of the template had children dashboards);
- the second column lists the signal templates (signals belonging to a device generated by a template, see fourth step in 1 chapter) of the widgets, with select boxes to choose with which signals substitute them. Signals can only be substituted with signals of other devices generated by the same template.

To proceed with dashboard creation all the signals must be selected and a suffix has to be inserted in the modal header, it will be used to form the resulting dashboard name with the template name.
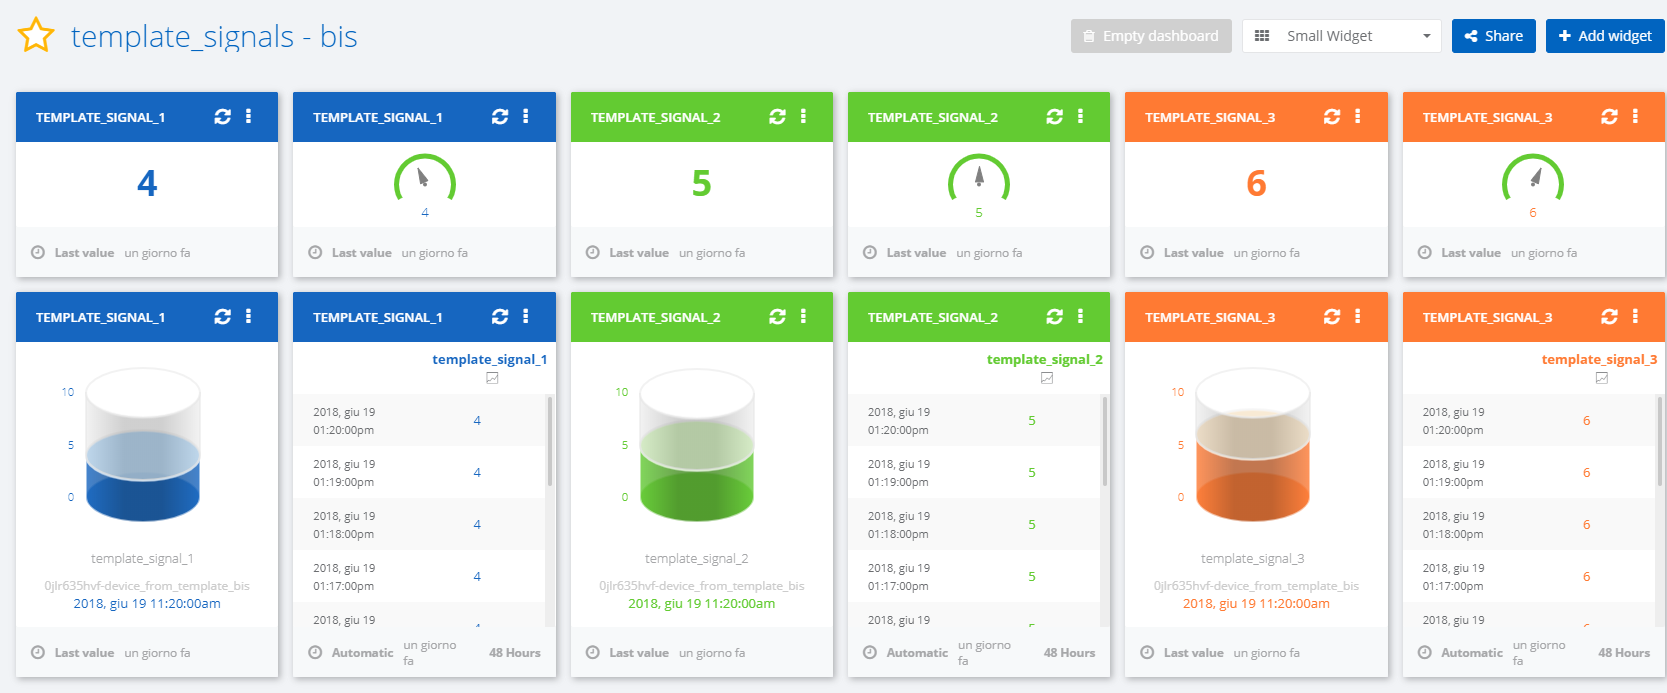
The generated dashboard will have the template same structure with the signals substituted with the selected ones, in the picture you can notice the signals of the device device_from_template_bis.
0 Comments